Building a device to record or live-stream my sessions
I have been speaking at various conferences and events for more than 10 years. Over the years, I tried several ways of recording my sessions. Most of the ways were just OK, but they were not 100% reliable, and it always bothered me when I did a conference with amazing sessions and some of them fail to record.
Recently, I have built my custom device that can do the entire recording or live-streaming job done without interfering with anything I want to present, and can be used on conferences where devices are changed frequently and each has a completely different setup.
But first, let me briefly list the ways I have been using, and point out their pros and cons.
Camtasia
Camtasia is probably the best software for screen recording. It comes with a simple editor where you can do basic processing of the video, and export it to common formats.
I was using Camtasia for a couple of years succesfully, however there are some things you’ll want to change in Camtasia settings, otherwise your recording can be easily ruined:
- The default keyboard shortcuts in Camtasia collide with some shortcuts in Visual Studio. For example, when you debug something during your presentation and press F10, Camtasia will stop the recording. If you don’t notice that, you have just lost the rest of your session.
- Camtasia stores the recordings to you C drive by default. If you have multiple drives (C for system and D for data), you may want to put it to some other location so you won’t run out of disk space. It is a good idea to place Camtasia temp folder to a USB stick (USB 3.0) so you’ll get full performance from your drive for your Visual Studio builds, virtualization or any other stuff you use in your presentation.
- Double-test your microphone settings so you don’t lose your audio. Recording the sound on a separate backup device is always a good idea. On some PCs, I have not been successful in recording the sound from Camtasia at all – sometimes I have been hitting various driver issues, or there was a problem when two audio devices on the PC used the same name.
The main issue with Camtasia is that it drains the performance of your machine while you are presenting. It is not a problem if you only have PowerPoint slides, but if you need to use Visual Studio, Docker and other stuff during the session, your machine will be much slower than without recording. Two or three times, my laptop got overheated and just turned off in the middle of my presentation. The recording was of course lost completely as the temp file was corrupt.
If you organize a conference and want to use Camtasia, you will need to convince all speakers to install it, and I totally understand the speakers who won’t do it. It is always risky to install anything before the presentation, especially when you don’t know the software. It can interfere with the things you want to show, and finally, there is never enough time to do it before the presentation and test it properly – everyone wants to focus on the session and not spend time by installing something.
AverMedia Frame Grabbers
Over the years, I have also tried several frame grabbers from AverMedia, namely AverMedia ExtremeCap 910 and AverMedia Game Capture HD II.
The first one can record VGA or HDMI on a SD card, the second one records HDMI on its internal hard drive. Be careful about the SD card you want to plug in – not all SD cards worked for me.
The advantage is that your device is not affected by the recording at all, and it is simple to use – just plug the frame grabber between your laptop and projector.
On the other hand, there are several problems with this approach:
- You don’t know if the recording succeeded unless the presentation ends, and you check what has been recorded. Sometimes you’ll find an empty file, a hour-long video of entirely black screen, or just a part of the session.
- When the speaker changes the screen resolution during the presentation, or switches from Duplicate mode to Extend, the recording won’t probably survive this and ends or produce a corrupted file.
- The quality of audio recorded by the frame grabbers is terrible. You need a separate audio recording device, or a good external microphone that will be connected to the grabber.
- You’ll need to do post processing as the grabbers often don’t produce a video in a format which is suitable for direct upload.
All in all, this method failed me many times. I hardly remember a conference when 100% of recordings succeeded using this method.
On the other hand, my colleagues from Windows User Group are using this way for years and have successfully recorded hundreds of sessions.
My Custom Device
Few years ago, one of my colleagues was doing some live streams with OBS, and that inspired me to build my own device for recording or streaming.
Of course, I could install OBS directly on my laptop, but that wouldn’t work on conferences which I organize (convincing the speakers to install and configure OBS on their machines).
Instead, I built my device from the following parts:
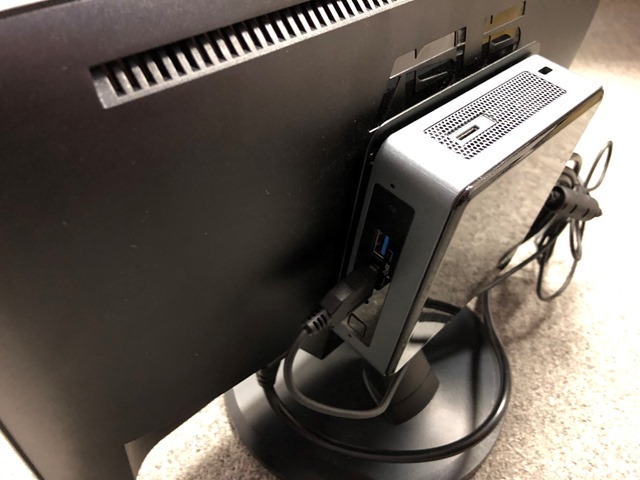
- Intel Nuc that runs Windows 10 and OBS. I got the version with Core i5 processor and put there 256GB SSD drive so I have enough space for the recordings.
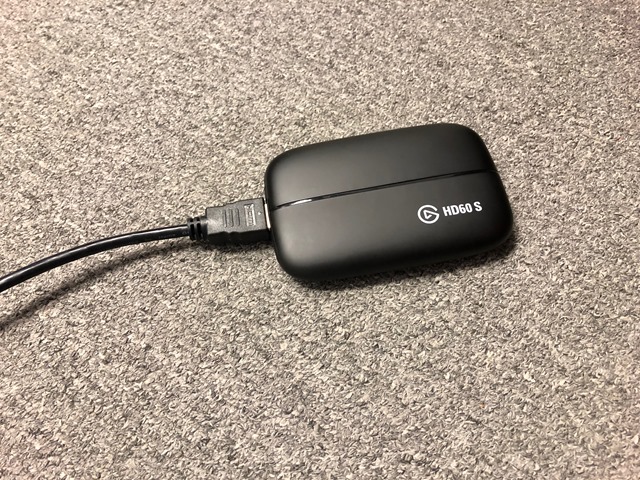
- Elgato Game Capture HD60 that can grab HDMI signal and behaves like a USB 3.0 webcam.
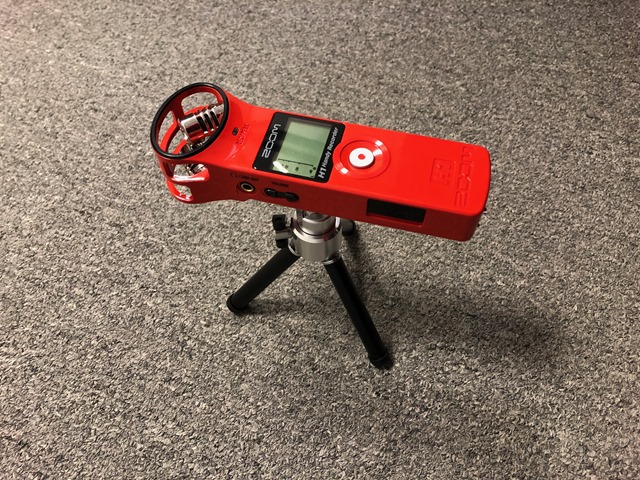
- Zoom H1N for recording the sound. It is a good-quality dictaphone that can record audion on a micro-SD card, or behave like a USB microphone (that’s what I need).
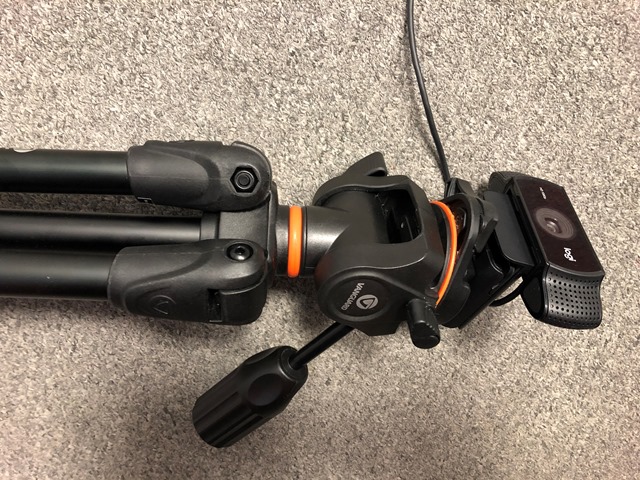
- Logitech C922 Pro Stream USB webcam to record the speaker.
- Asus VT168H 15.6’’ LCD touch screen.
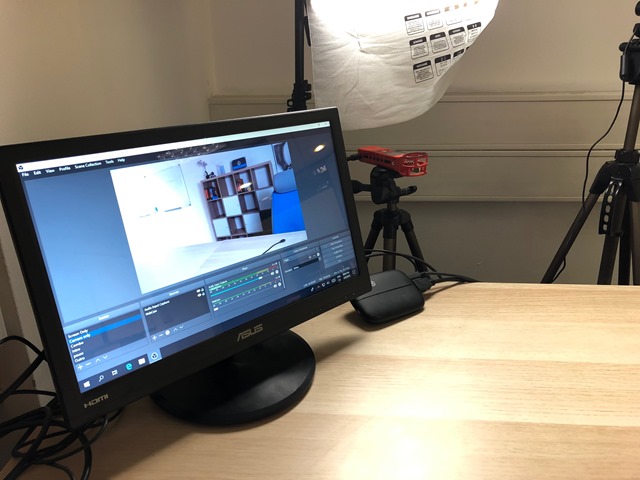
I have mounted the Intel Nuc on the back of the LCD display. Thanks to the fact that it is a touch screen, I don’t need mouse and keyboard connected.
I can then just connect the webcam, the grabber and the Zoom recorder in the USB ports (there is enough of them) and use OBS to record or stream.
I have tested the Elgato grabber that it survives when the screen resolution changes or Duplicate mode switches to Extend and vice versa. It survives even disconnecting and re-connection of any device, and I can always check what's being recorded or streamed in real-time thanks to the display.
The entire setup costs about $900, but it is the most reliable and flexible solution I have found so far.
Since the webcam can be placed few meters away from the speaker’s post, I also recommend connecting it using an active USB 3.0 extension cable.
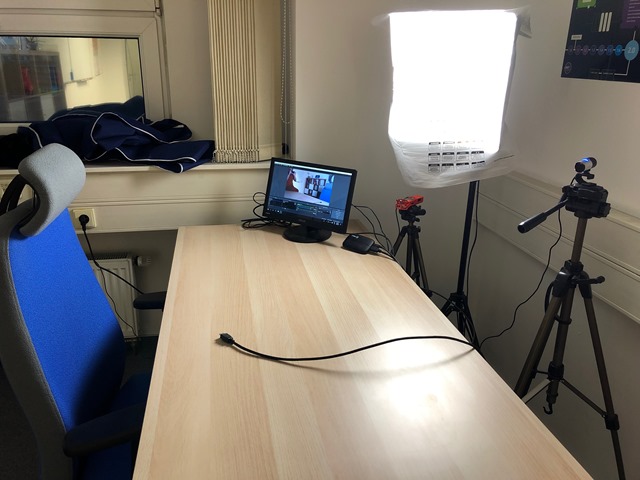
Here is a photo of my studio I have built in our offices. It is ready for the speaker to just sit down, plug the HDMI cable in their laptop, and start presenting.
The software
As I already mentioned, I am using OBS. It is an awesome open source project, and it proved to be very reliable.
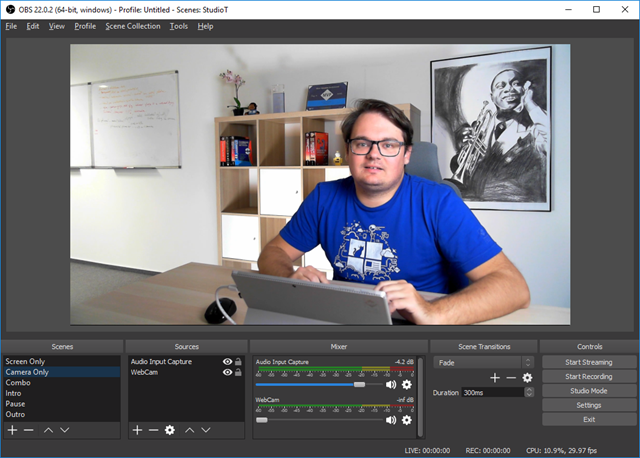
You can define as many scenes as you want, and add any kinds of video or audio sources in every scene.
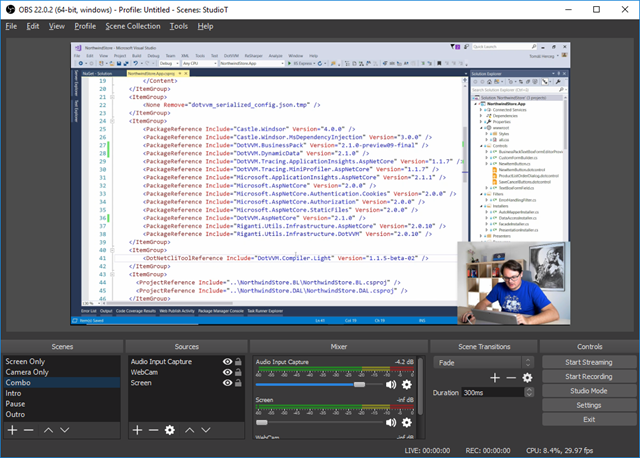
I have three scenes – just the screen, just the speaker or a combined view (I am using it most often). Also, for the live streams, I have a static scene for intro, intermission and outro.
You can switch between the scenes using the touch screen. One of my friends is building a simple device with several buttons to switch the scenes and start/stop recording – it will be more accurate than the touch screen.
For streaming, you just need to enter the stream key in the Settings of OBS. OBS supports many streaming services. I stream on Twitch and then export the videos to YouTube (I often edit them a little bit).
When I just record, the videos are stored on the internal SSD drive I put in the Intel Nuc.
Post-processing
The videos recorded in OBS comes in FLV format. It can be changed, the reason for FLV is a support for missed frames which can happen, especially in streaming scenarios.
I use Adobe Premiere to edit my recordings, which doesn’t support FLV, but it is simple to convert FLV into MP4 using ffmpeg.
ffmpeg -i myvideo.flv -codec copy myvideo.mp4The conversion is very quick and it is loseless – the stream itself is not affected, only the container is changed from FLV to MP4.
Conclusion
We have recently started coding live with my friend Michal Altair Valasek, and had a great fun. This device helped us to do the stream right away without spending much time to prepare it, and I have used the device to record the sessions on our latest conference. We had some issues and one of the sessions failed to record because of a human error, but next time we’ll be more careful.
I believe that I have finally found a reliable and still affordable way to record or stream sessions from conferences I organize.

BIO:
I am the CEO of RIGANTI, small software development company located in Prague, Czech Republic.
I am a Microsoft Regional Director and Microsoft Most Valuable Professional.
I am the author of DotVVM, an open source .NET-based web framework which lets you build Line-of-Business applications easily and without writing thousands lines of Javascript code.
